Description
“In this lab we will learn how to solder! Soldering is a technique to connect two pieces of metal together by melting another metal/alloy (Solder) between them. Solder has a much lower melting point than the copper wires or components that we will connect with it. Soldering is a very useful electrical prototyping skill, which you will probably use in your labs and the final project.”
Unfortunately, the BTU lab where I worked for this lab only had 4 soldering stations. Therefore, I worked in a small group with Lily and Tomas and shared the station to finish this lab in a timely manner.
Materials:
- Protoboard (Not in the kit; provided)
- Stranded and Solid-core Wires (Not in the kit; provided)
- Soldering Iron (BTU)
- Solder Wire (Lead-free, rosin core) (BTU)
- Fume Extractor (BTU)
- Brass Wire Pad (BTU)
- Soldering Helping Hands (BTU)
- Solder Sucker Desoldering Pump (BTU)
- Solder Wick (BTU)
- Wire Stripper (BTU)
- Diagonal Pliers (BTU)
- Safety Glasses (BTU)
Part 1: Soldering Setup and Safety
When working with solder, it is important to remember important safety regulations to avoid laboratory accidents. Some things to be mindful wile soldering are:
- Only handle the solder pen by the handle, avoid the metal tip
- Do not place the solder pen down outside of the holding stand
- Turn on the fume extractor and avoid inhaling solder fumes
- Wear safety glasses at all times while soldering
- Wash hands with soap and water when finished.
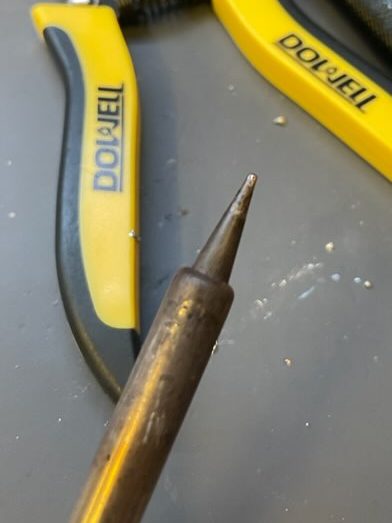
To start soldering, I organized my materials in my soldering station. The materials listed above can be seen in the picture below.

Part 2: Soldering Wires to a Protoboard
In order to begin soldering, I turned the soldering iron to reach a temperature of 575 degrees for the tip of the iron to be hot enough to melt the solder wire. Then to ensure the iron can melt the solder, I went through the process of tinning: melting then depositing solder over the tip of the soldering iron. This involves touching the tip to some solder and then dipping it into the brass wire pad to scrape off excess solder, giving clean contact to the heated part of the iron.
Since I was working in a small group for this lab, we decided to share one protoboard to do the soldering practice. In the picture below, the highlighted joints are the three wire joints I created. I practiced creating these wires joints using two solid core wires and one stranding wire. I found the solid core wire much easier to work with since the stranded would break apart when I made contact with the copper.
I created these joints by stripping the wires down to expose the copper wire inside, and then stuck the copper ends through the hole in the protoboard. Using the soldering iron and solder, I carefully melted a small “Hershey’s kiss” drop onto the board, connecting the wire to the protoboard.

Part 3: Bridge of Solder
Once the wires were connected on both ends to the protoboard, it’s now time to connect the joints. Connecting the joints with solder is called a trace and allows the flow of electricity to from one part of the protoboard to another. Creating a trace between joins required me to melt blobs of solder to fill the holes between the joints and waiting for the bits to harden before adding more solder on top to crate a bridge. While in the liquid state, the solder was able to be pushed like a paint brush by the the soldering iron tip.

Part 4: Splicing Wires
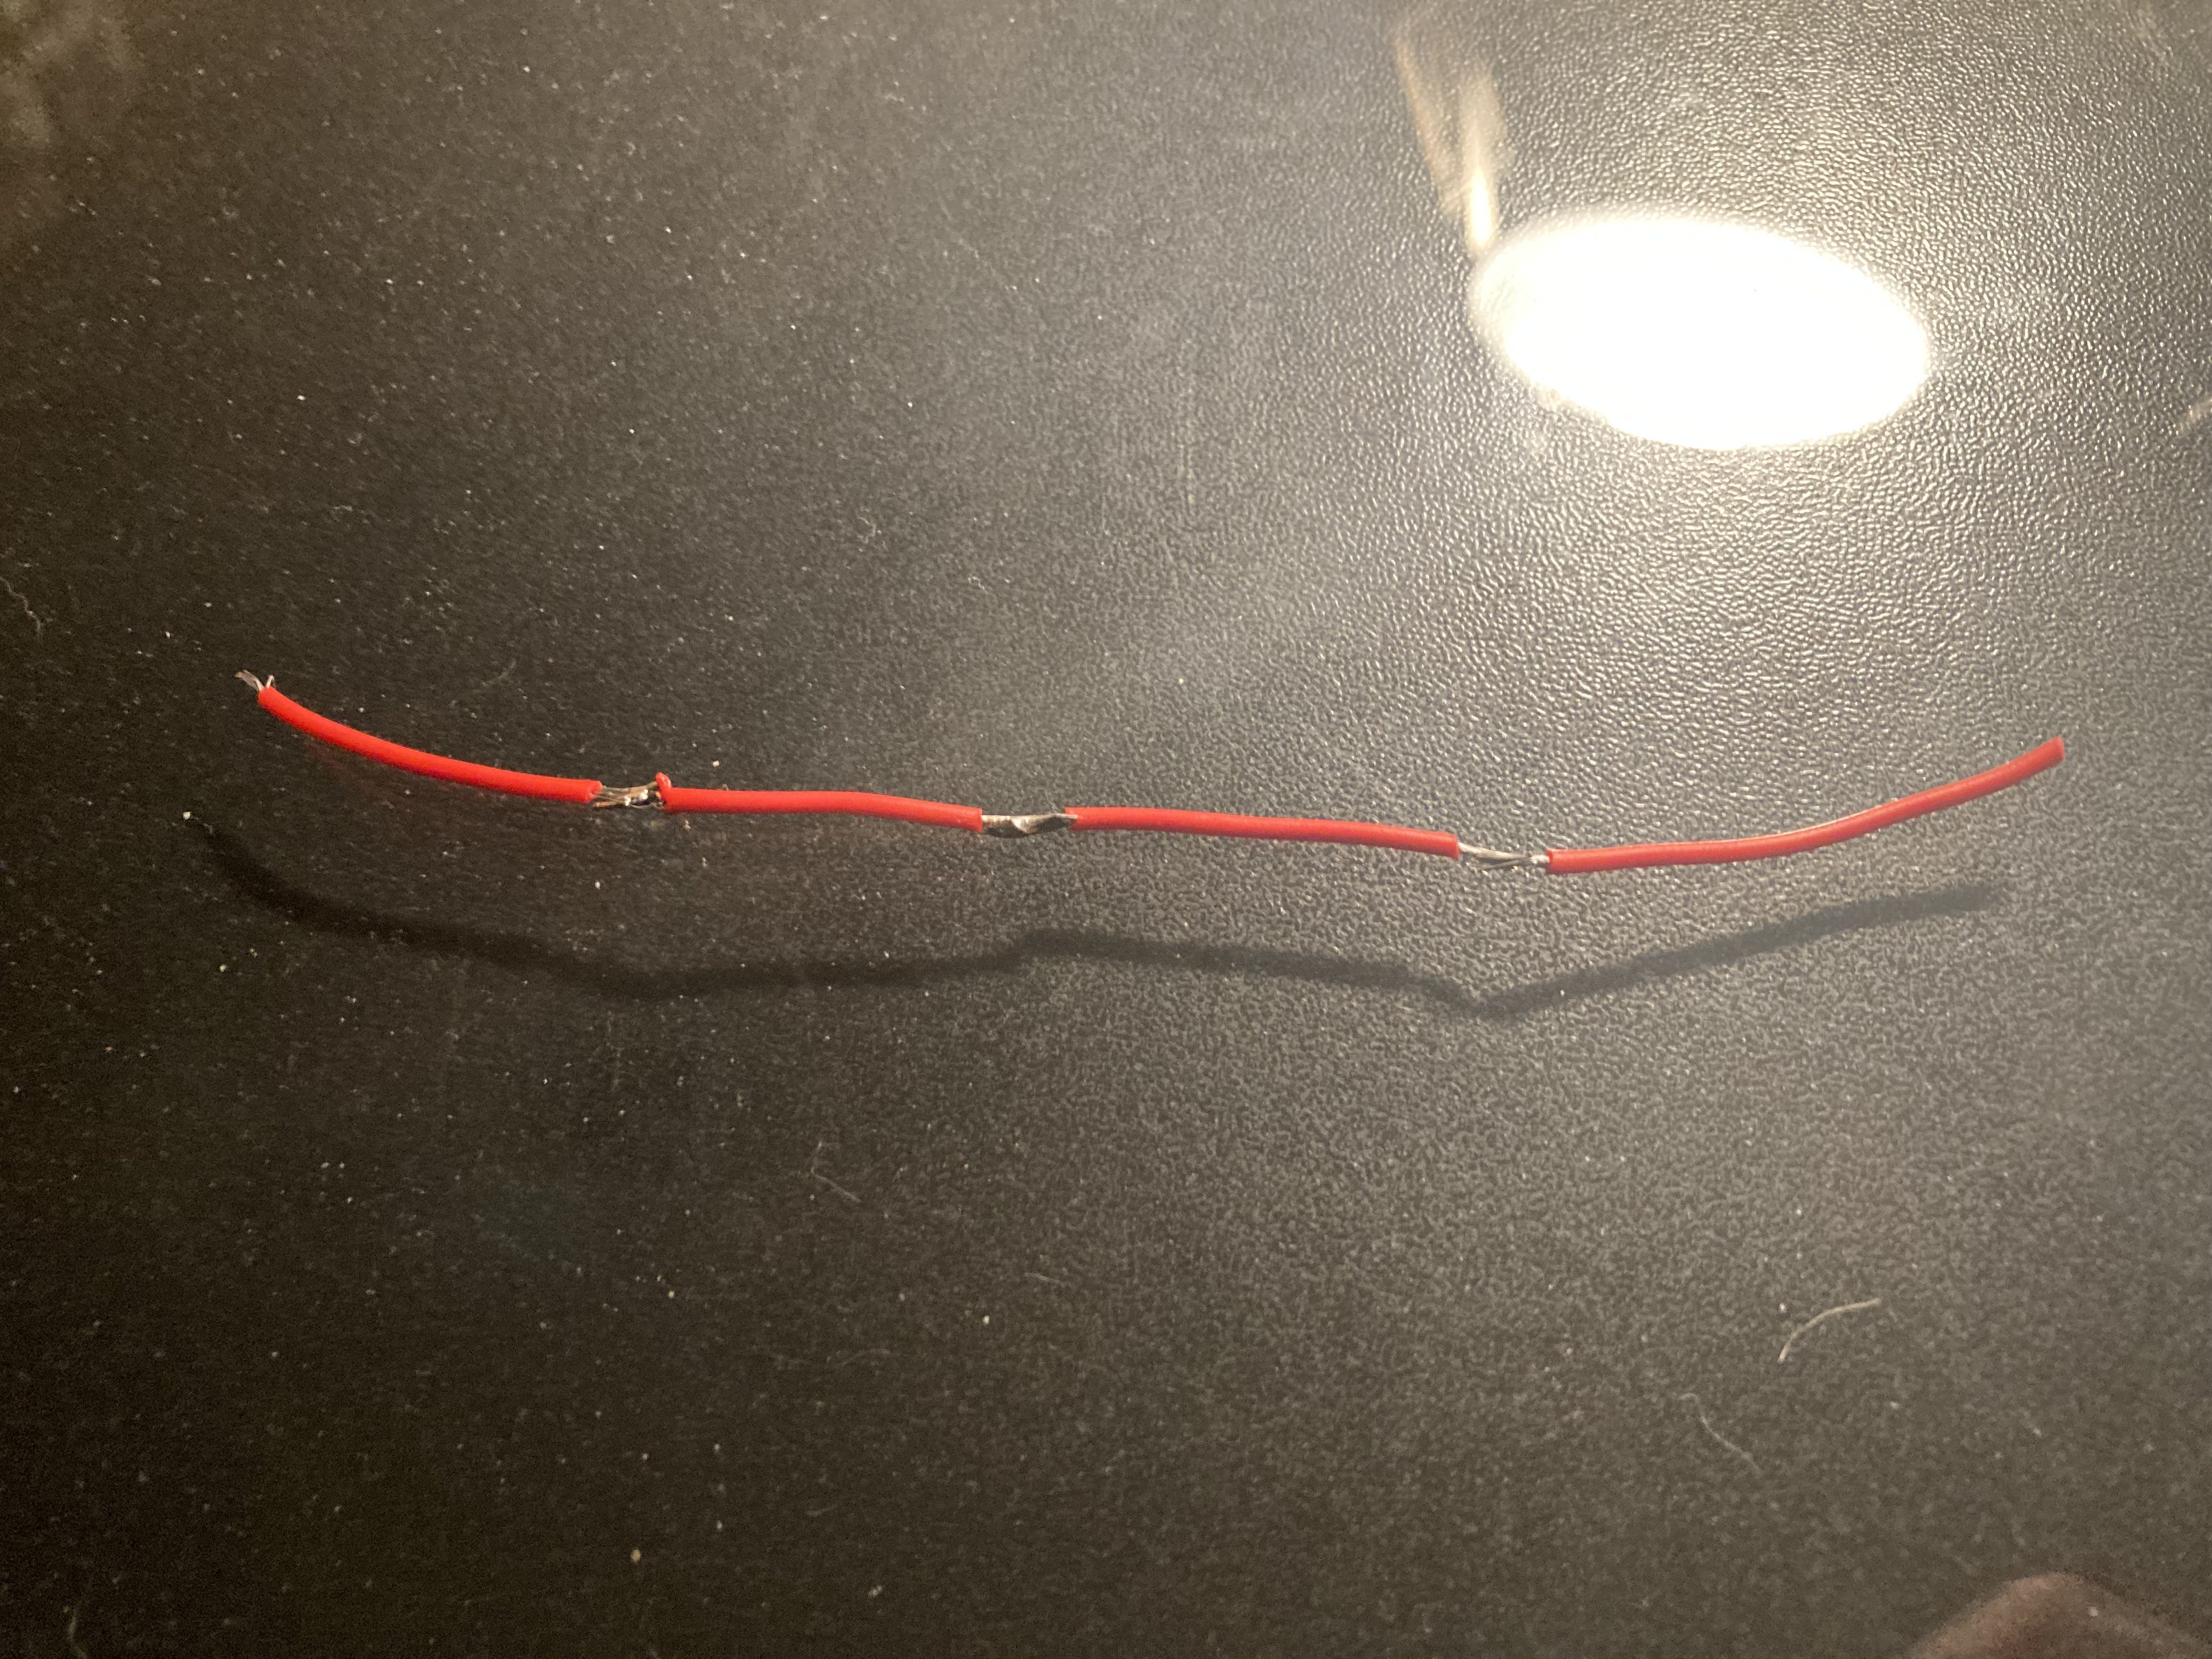
The final part of this lab taught us how to slice wires together using solder. I cut some stranded wire into 2-inch segments and soldered them together to create a long 8-inch wire. Using the helping hands, I clipped one segment together at a time and touched the exposed copper strands together. I found it easier to “braid” the stranded wire together and entwine the copper ends to ensure a steady connection between segments.
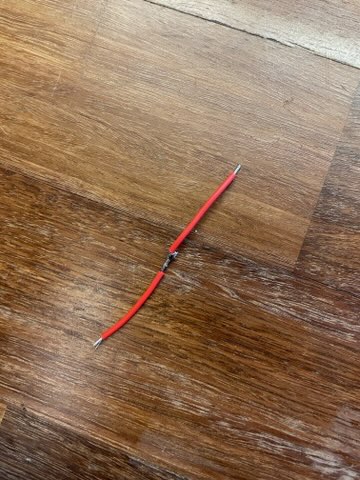
Below is the final four-section wire using three separate splices.
Conclusions:
This lab was a god introduction to the procedure and safety of soldering. One step then I found particularly tricky was touching the solder wire to the iron tip and moving the solder before it hardens. With shaky hands, I would constantly get the solder wire stuck the surface when the soldering iron lost contact tot he board and wire. Bracing my forearms against the table helped reduce the shakiness in my hands and kept firm contact with the area being soldered
I also learned that it does not take too much solder to get the connections I needed. Using less solder made it much easier to work with reduced the chances creating an electrical ‘short’ by having open ended trace connections. By adding only a small amount of solder and then melting that to reform or redirect the solder was much easier than adding my solder to fix any of my mistakes.
