Disclaimer: Sadly, my house burnt down during the Marshal Fire in December of 2022, and I have since lost all of my physical projects from my CTD school career along with the laptop that had the original files for these projects. My old WordPress website was also deleted during the time that I took time off from school during COVID. I have done my best to salvage what information I still have on old backup hardrives.


1. Marble Maze
This was my Object final project which was present at Expo 2023 last year. I worked with Lila Ansen and Tomas Garcia for this, where I focues on the Laser Cutting and Coding aspects using Arduino software and components. Our final project will involve creating a marble maze that is controlled by two servo motors to tilt the maze in the x and y axis, allowing the user to roll the marble in their desired direction. The movements of the maze will be controlled by an accelerometer in a hand-held controller that mirrors the user’s hand movements when they tilt it back and forth. This creates a unique interactive experience that tests one’s hand-eye coordination.


The maze is a 6-inch by 6-inch design that was created using Fusion 360. The maze has a depth of one inch and was designed to be both intricate and entertaining. One of the key features of the maze is the inclusion of the CU Boulder ATLAS Logo, which serves as the finish line at the center of the maze. Additionally, the maze has various traps that are designed to appear large enough for the marble to pass through but are actually too small, creating an added challenge for the user. Another feature of the maze is a divot that can sometimes cause the marble to get stuck and slow down the user’s progress.

The end result is a fully-functional and engaging marble maze that not only tests hand-eye coordination but also incorporates a range of technical skills. We are excited to showcase the final product and have created a demo video to share with others. This video highlights the maze in action, demonstrating the various features and functions that we have implemented. We hope that our project inspires others!
Coding Link: https://github.com/jafo3802/Marble-Maze/blob/main/Accelerometer.ino
Instructables Link: https://www.instructables.com/Marble-Maze-6/
2. Flow Visualization Photography
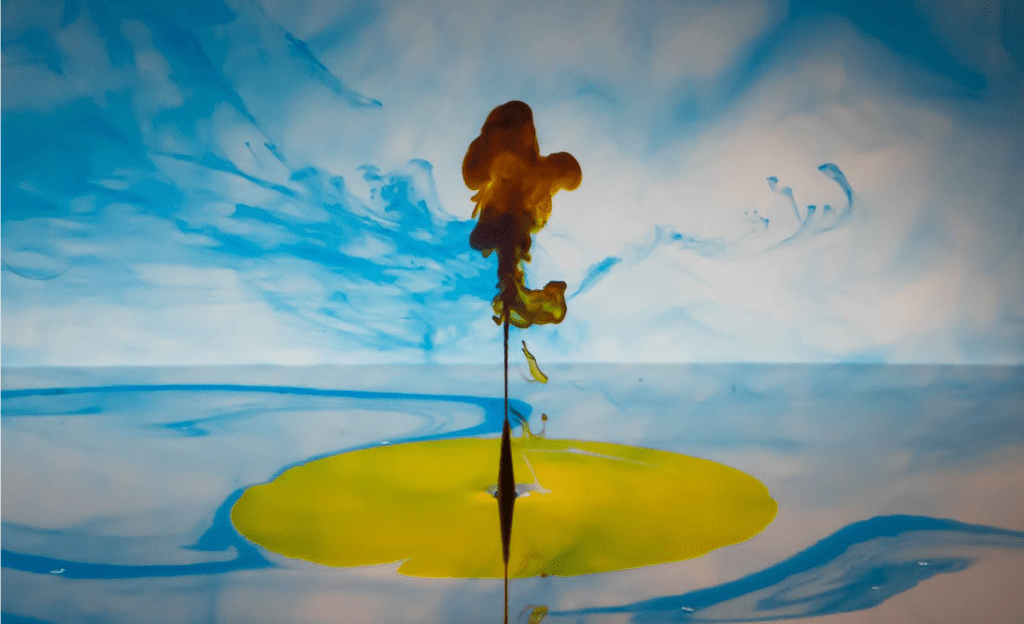
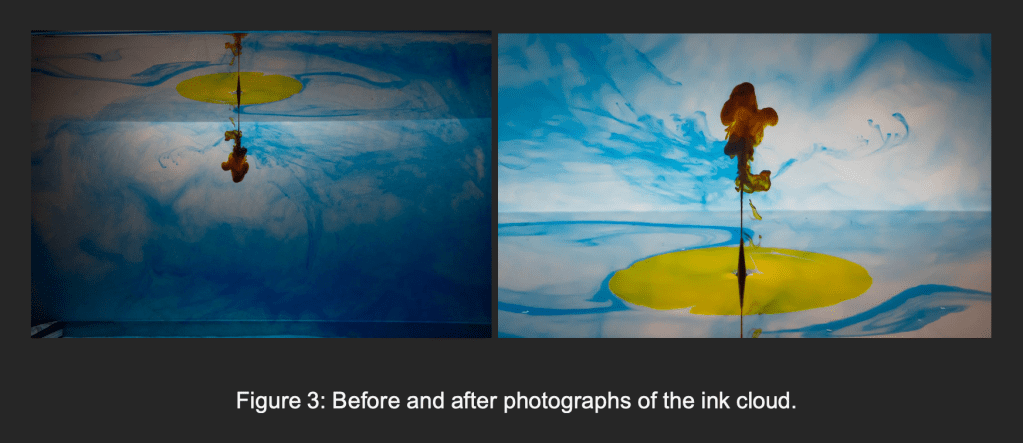
For the3 first team project of Flow Visualization, students were given the task to work together and create and image or video of fluid mechanics. My team consisted of Antonio Gueretta, Salah Ammar, Abdullah Alsaffar, and Abduljalil Almsham. In the planning stages for our project, we originally wanted to work with a Rubens Tube and capture an image of flames, But, the tube was already in use by a different team, so we decided to recreate the ink-in-water experiment that I conducted in an earlier project. The camera used to capture the photograph was a NIkon D7500 with a AF-S DX Nikkor 15-80mm f/2.8-8E Ed VR lens. I like this image because the ink is displayed in a 3-dimensional spac, which gives the subject a sense of movement and depth. The photograph depicts the Rayleigh-Taylor Instability that describes the movement of the two fluids with different densities

The figure above depicts the apparatus that we used to obtain my image. We used a 24x12x12 inch aquarium provided by Prof. Hertzberg. We filled a small syringe with about 2mL of the black ink and held is at the bottom of the aquarium on the left side. I placed my desk lamp with an LED light bulb on the right side of the tank to illuminate the ink at 90° angle relative to the direction that the camera pointed. The ink flow captured in the final photograph is about 5.5 inches in length by using the tip of the syringe for scale (which was cropped out in the final image) and was taken very shortly after I began to press on the syringe. The ink cloud is moving towards the right due to the force of push exerted by the end of the syringe.
The materials used in the project are shown to the right. We used four colors of waterproof India ink: black, yellow, blue, and red. These inks are traditionally used for pen and ink calligraphy. We also had four syringes from the art store that has a cuttible tip to change the size of the exit hole (We did not modify the syringe tip in my project and used the smallest hole possible: 2mm diameter). We worked in a dark environment except for my single light source which was my desk lamp with a white LED light bulb and a second lamp to illuminate the background. Further explanation in paragraph 1. Further analysis of the RTI being expressed in the flow can be calculated by analyzing the sequence of images and calculating the Reynolds Number (Engineering ToolBox). The Reynolds Number I calculated indicates that the flow is between a transitional flow. In the image, large vortices are visible in the ink cloud.
3. 3D Model Chess Set
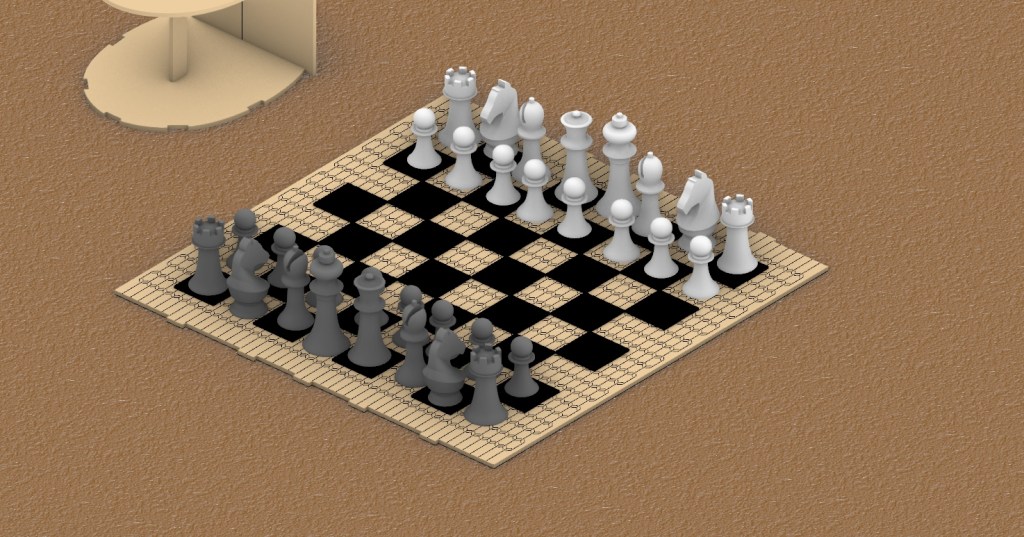
For this project, I created a 3D printed chess set with a wooden laser cut board and container for my Form final project. I used Rhino software for 3D modeling and rendering the pieces, along with Illustrator to design the board other wooden pieces. The idea behind this project was the have the board laser cut in such a way that the wood would bend around and and act as the walls of the storage container while also functioning as the board for playing chess.
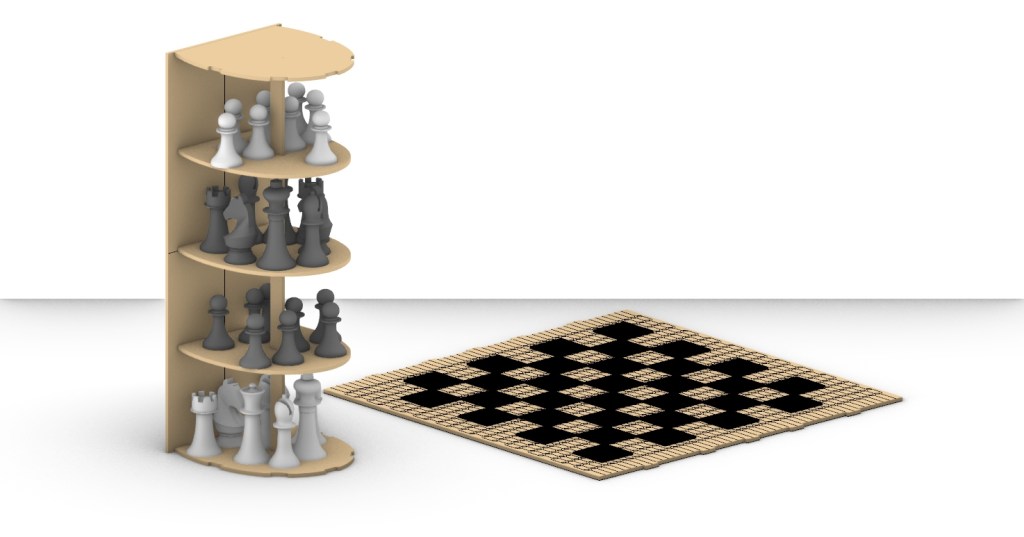


The challenges that came with this project were mainly focused on the board itself. I went through multiple iterations of the cut pattern to make sure the wood was flexible enough the bend around the storage container.
Unfortunately, I no longer have this project in my possession as it was lost during the fire of my house. But I do have the schematics and rendering of the different parts of the project.
4. VR Carnival Ball Toss Game
For this project, I used Unity game engine and Xcode to create a Virtual reality game that replicates a ball carnival game. Using Google Cardboard, the game allows the user to look around a 3D modeled environment and shoot a ball to hit targets laid out in the play area.
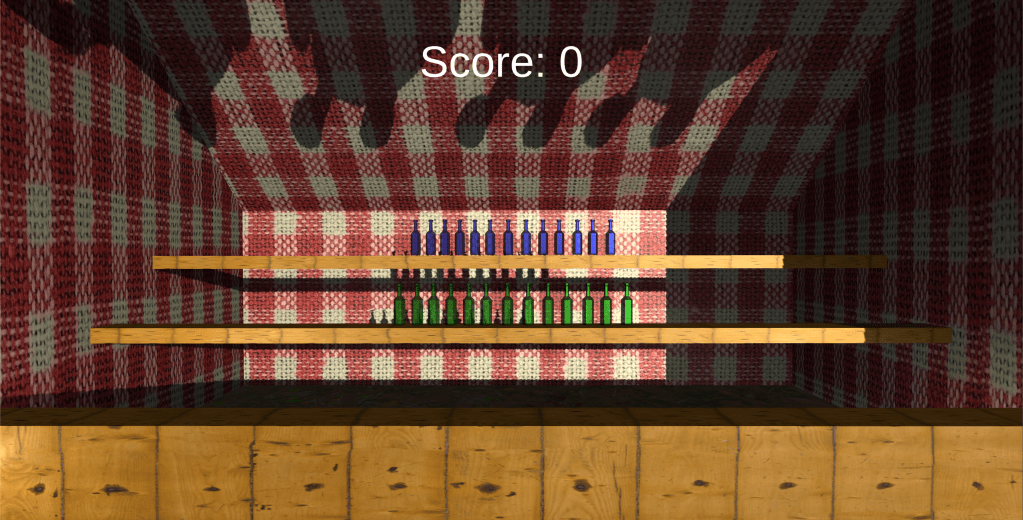
This was my first time using Unity for creating a 3D space, which I found to be very intuitive and easy to learn. Configuring the player settings was the most challenging aspect of the project.

Continue to other projects:
